安信可 http simple_server示例
Simple HTTP server Example
This example shows how setup a simple http server.
Introduction
Please configure the ssid and password that need to be connected to WiFi in advance,in main.c.
How to use example
Open the project,set WIFI_SSID,WIFI_PASSWORD in “wifi_execute.c” file at line 3,line 4 and set listen port in “http_server.c” file at line 3.
For example :
#define STA_SSID "Ai-WB2-x"
#define STA_PASSWORD "12345678"
#define SERVER_PORT 80
Finally,running command below to compile project on ubuntu.
make -j8
Burn firmware
Running command below to burn firmware after connecting WB2 serial development board to ubuntu.
make flash p=/dev/ttyUSB0 b=921600
Debug
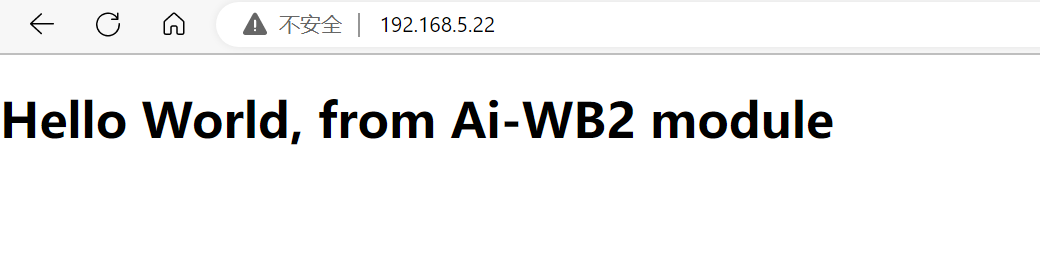
Open the serial port debugging assistant software,select the COM port of the development board,and press the reset button on development board to run the program finally. Access the IP address of the module through the browser of the PC or other devices, and you can get the web page responded by the server, as shown in the following figure:(Notic:the device which access the IP address of the module should be in the same LAN with module.In other words,connect to the same AP.)
Troubleshooting
For any technical queries, please open an [issue](https://github.com/Ai-Thinker-Open/Ai-Thinker-WB2/issues) on GitHub. We will get back to you soon.
简易HTTP服务器搭建例程
简介
本例程主要介绍如何搭建一个简易HTTP服务器。
如何使用该例程
打开项目,在“wifi_execute.c”文件第3、4行设置WIFI_SSID、WIFI_PASSWORD以及在“http_server.c”文件中设置服务器监听端口号 如下:
#define STA_SSID "Ai-WB2-x"
#define STA_PASSWORD "12345678"
#define SERVER_PORT 80
最后,在ubuntu下运行以下指令编译工程。
make -j8
烧录固件
将WB2开发板连接ubuntu之后,运行以下指令烧录固件。
make flash p=/dev/ttyUSB0 b=921600
调试
打开“串口调试助手软件”,选择并打开开发板的COM口,最后按下复位键启动程序。 打开浏览器,访问模组的IP地址,模组将响应该请求,回复一个网页过来,效果如附件:(注意:访问该IP的设备需与模组在同一局域网下,即:连接同一个AP热点)
问题排除
若有任何问题,请在github中提交一个[issue](https://github.com/Ai-Thinker-Open/Ai-Thinker-WB2/issues),我们会尽快回复。